
Overview
The integration between Snowflake and Gravite.io allows businesses to create customized tables in Snowflake, containing only the feedback they wish to analyze. With this dedicated table, clients can select relevant feedback from various sources (CRM, surveys, support tickets) and automate its import into Gravite.io, eliminating the need for manual data handling. Gravite.io then connects to Snowflake to continuously synchronize the data and analyze it using artificial intelligence, providing actionable insights into trends, pain points, and opportunities for improvement.
How to use
1. Creating a Customized Table in Snowflake:
Clients can configure a dedicated table in their Snowflake data warehouse. This table can be customized to include only relevant feedback from various sources (CRM, surveys, support tickets, etc.), filtering out unnecessary information and ensuring that only important feedback is imported.
2. Connecting to Gravite.io:
Once the table is created, Gravite.io can connect directly to Snowflake to automatically retrieve the feedback stored in this table. This enables smooth and continuous data synchronization without any manual intervention.
3. AI-Powered Feedback Analysis:
The retrieved feedback is then analyzed by Gravite.io’s artificial intelligence algorithms. The AI structures the data, identifies trends, and provides actionable insights. Clients can gain a better understanding of user sentiments, pain points, and opportunities for improvement through the feedback.
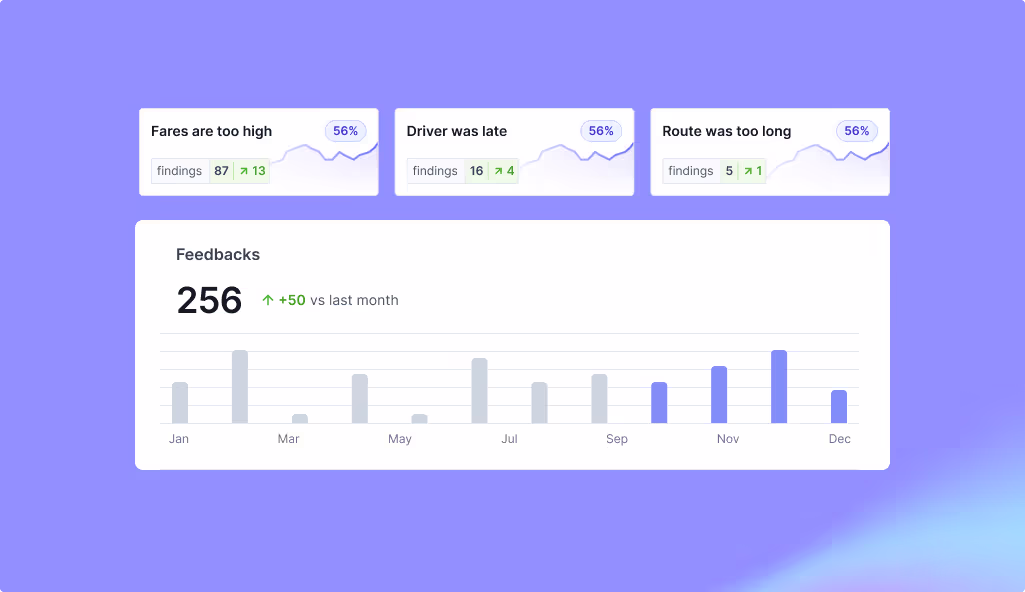
4. Real-Time Reports and Visualizations:
Gravite.io offers powerful analysis tools to visualize and track feedback in real time. Businesses can explore their feedback data with interactive reports, identify emerging trends, and make informed decisions more quickly.
How to setup
1. Go to Gravite > setting > Integration
2. As usual in Gravite, click on “Add Integration”
3. Fill out the form with the account_identifier, which you can retrieve as described here: Snowflake Documentation - Account Identifier
4. Create a Database
-- Creating the database
CREATE DATABASE IF NOT EXISTS GRAVITE_SHARED_DATA;
-- Creating the table
CREATE OR REPLACE TABLE GRAVITE_SHARED_DATA.PUBLIC.FEEDBACK (
	GV_ID VARCHAR(40) NOT NULL,
	GV_CREATED_AT TIMESTAMP_NTZ NOT NULL DEFAULT CURRENT_TIMESTAMP(),
	GV_FEEDBACK_DATA OBJECT NOT NULL,
	GV_TAGS ARRAY,
	constraint PK1 PRIMARY KEY (GV_ID)
);
GV_ID: The unique identifier of the added row.
GV_CREATED_AT: Automatically added.
GV_FEEDBACK_DATA: JSON for the feedback in the following format:
{
  "title": "Title of the article" (optional),
  "description": "Detailed description of the article or content.",
  "created_at": "2024-10-15 14:30:00"
}
GV_TAGS: Tags in the following format:
[
    "Tag 1",
    "Tag 2"
]
-- Creating the User and its Role
CREATE ROLE GRAVITE_USER_ROLE;
CREATE USER GRAVITE_USER password = <STRONG_PASSWORD>;
GRANT ROLE GRAVITE_USER_ROLE TO USER GRAVITE_USER;
GRANT USAGE ON WAREHOUSE <WAREHOUSE> TO GRAVITE_USER_ROLE;
GRANT USAGE ON DATABASE GRAVITE_SHARED_DATA TO ROLE GRAVITE_USER_ROLE;
GRANT USAGE ON SCHEMA PUBLIC TO ROLE GRAVITE_USER_ROLE;
GRANT SELECT ON FEEDBACK TO ROLE GRAVITE_USER_ROLE;
5. Copy the public key from Gravite and update the key in Snowflake
ALTER USER GRAVITE_USER SET RSA_PUBLIC_KEY=<RSA_PUBLIC_KEY>;